IMPORTANT: MOST APPLICATIONS TO JOIN THE POSITIVE GUNDOG GROUP ARE TURNED DOWN. IF YOU WISH TO JOIN THE GROUP, PLEASE READ CAREFULLY This is an information […]

Gundog training and fieldwork for all breeds of gundog.
IMPORTANT: MOST APPLICATIONS TO JOIN THE POSITIVE GUNDOG GROUP ARE TURNED DOWN. IF YOU WISH TO JOIN THE GROUP, PLEASE READ CAREFULLY This is an information […]
We have endless discussions on my Positive Gundogs Facebook Group about free … [Read More...]
Coming soon - a brand new guide to the world's most popular gundog breed! Lucy … [Read More...]
*Sponsored article* [wp_ad_camp_2]Bought By Many, the company bringing people … [Read More...]
[wp_ad_camp_2]To most of us, the word punishment means something pretty … [Read More...]
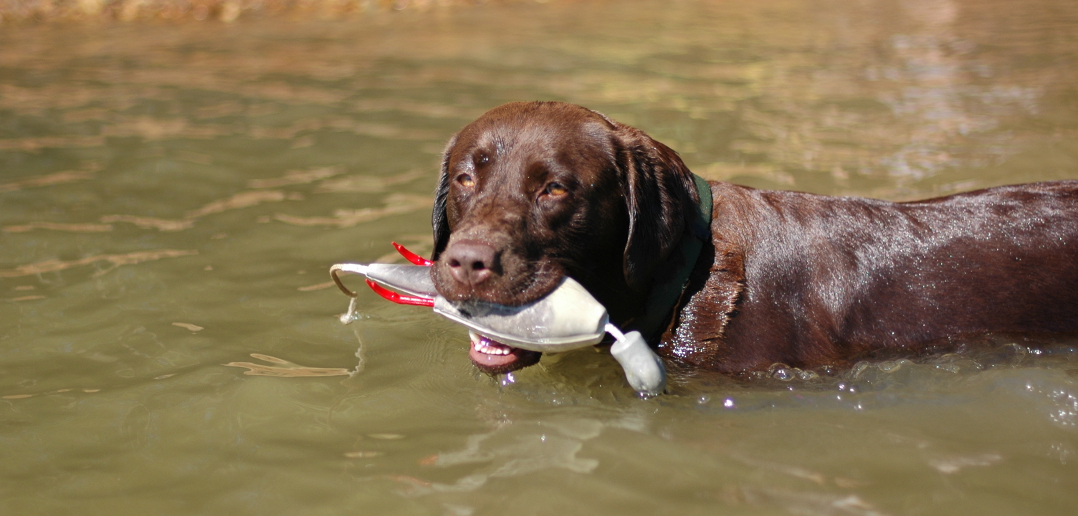
[wp_ad_camp_2]Retrieving can be a thorny issue for some gundog owners. And retrieving problems are common. Whether it is disinterest in retrieving, or a more specific issue like delivery, there are lots of potential pitfalls when it comes to getting your gundog to fetch and return with an object. The type of problem that your gundog is prone to could well depend to […]